DIY Stitch Decor

Hi! I am planning on changing a wall in my room and ja, this is the first thing I am posting and well it was the first time I was stitching in my life. I went for a surfing theme as I love to surf and really miss it… This DIY is very easy and doesn’t take a lot of time. Have fun!


What you will need:
  • embroidery frame (optional: two different sizes)
  • paintbox
  • fabric
  • thread
  • neadle


How to proceed:
  1. Chuck the fabric into the frame (the smaller one) and color the the fabric. I used two different colors. (If you are doing it like me with two frames and begin with the smaller one make sure some color is also outside of the frame.)
  2. Let the fabric dry, natural or with the help of a hairdryer.
  3. Chuck the colored fabric into the (bigger) frame and stitch your quote. Mine was: “Life’s a Wave - Catch it”
You can find other quotes on my Pinbord on Pinterest 


- Julia

Spring in my Garden


“Behold, my friends, the spring is come; the earth has gladly received the embraces of the sun, and we shall soon see the results of their love!”-Sitting Bull

- Julia 

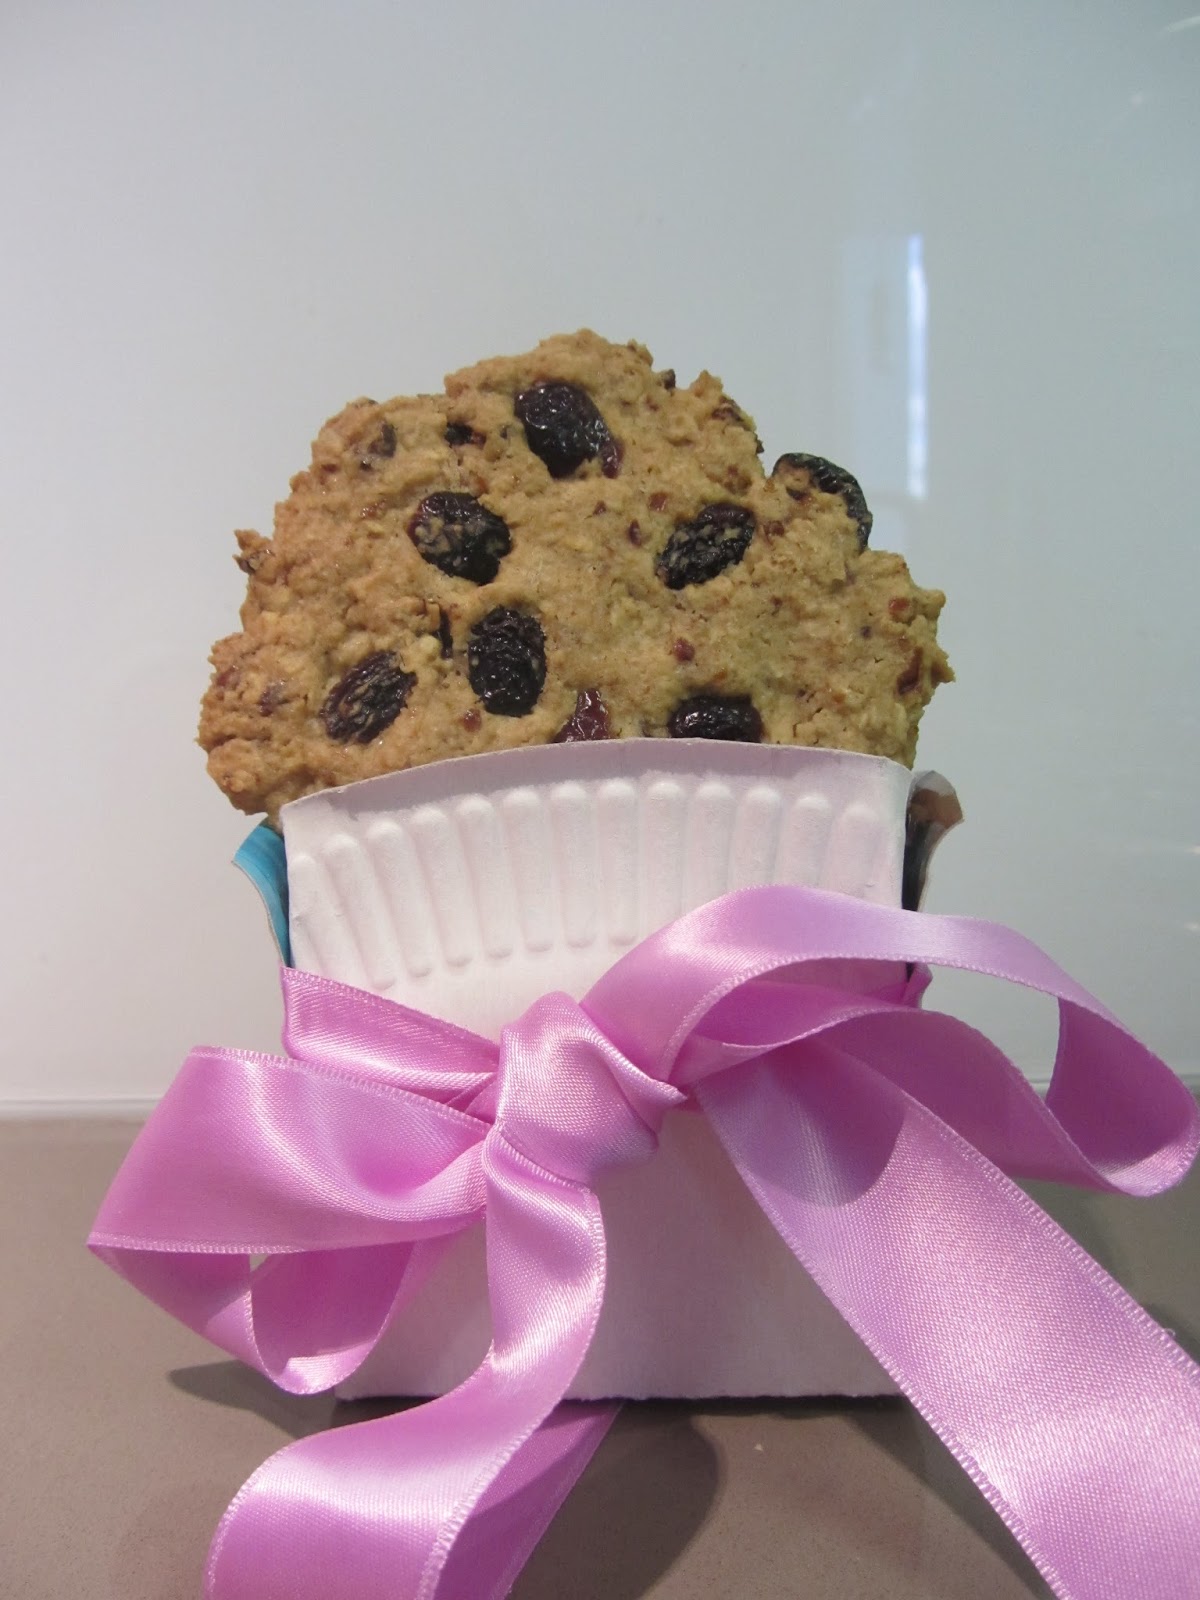
Oatmeal Raisin (Cranberry) Cookies

Hi! Somehow I got fever after oatmeal raisin cookies and I just had to make them! I have never seen them here in Germany, so there was no chance to buy them. Well, making your food yourself is always better. So yeah, I made those cookies, and my family can’t get enough of them. Instead of raisins you can for example also use cranberries, I actually combined raisins with cranberries, but here is the original recipe:


What you will need:
  • ¾ cup butter, softened
  • ¾ cup white sugar
  • ¾ cup packed light brown sugar
  • 2 eggs
  • 1 teaspoon vanilla extract
  • 1 ¼ cups all-purpose flour
  • 1 teaspoon baking soda
  • ¾ teaspoon ground cinnamon
  • ½ teaspoon salt
  • 2 ¾ cups rolled oats
  • 1 cup raisins (or ½ cup raisins and ½ cup cranberries)
How to proceed:
  1. Preheat oven to 375 degrees F (190 degrees C).
  2. Cream together butter, white sugar, and brown sugar until smooth. 
  3. Beat in the eggs and vanilla until fluffy. 
  4. Stir together flour, baking soda, cinnamon, and salt. Gradually beat into butter mixture. 
  5. Stir in oats and raisins. 
  6. Drop with a scooper onto ungreased cookie sheets (sticky!)
  7. Bake 8 to 10 minutes in the preheated oven, until golden brown. 


- Julia

Nanaimo Bars

Hi! When I tried a Nanaimo Bar from a friend I just totally fell in love. So we met on Friday and made those calorie bombs! Those should be forbidden to taste so good... It was even voted to be "Canada's Favourite Confection" in a National Post reader survey. So why not try it out? Wont hurt you!


What you will need:

For the chocolate-cookie-dough:
  • 125g wholemeal shortbreads
  • 75g hazelnuts or almonds
  • 60g butter
  • 30g sugar
  • 40g cacao
  • 1 egg (medium size)
  • 50g coconut rasps
For the light creme:
  • 100g smooth butter
  • 200g powdered sugar
  • 4 tbsp cream
For the chocolate creme:
  • 200g bitter chocolate coating
  • 50g powdered sugar
  • 75g cream
  • 75g butter
How to proceed:
  1. Lay out a form with parchment paper. 
  2. Chop the shortbreads into small pieces for the chocolate-biscuit-dough. Chop he nuts not to finely. 
  3. Cut the butter into pieces and melt it with  sugar and cacao over hot water in a metal bowl. Add the egg to the mixture, stirring constantly, until slightly creamy-pudgy. Take the bowl away and mix the biscuits, nuts and coconut and press the mixture evenly into the mold. Let it chill.
  4. For the light cream, mix butter and powdered sugar together with a mixer and stir the cream in.
  5. spread the creamy creme on the chocolate-biscuit-layer. Let it cool again.
  6. For the chocolate creme chop the chocolate coating and let it melt in a bain-marie. Add the powdered sugar, cream and butter and stir until smooth. Let the mixture cool off for 10min (take off the bowl from the bain-marie) and then spread it over the second layer.
  7. Let the covered form chill for 1-2 hours.


Had a great time with you Johanne! Thx!

- Julia

Diary for Clara

Hi! I made this quite a long time ago, when my friend went to Canada for some months. She's back home now, still I wanted to share this project with you because I am kinda proud of my work... here you can see the original post.  If you also want to make something like this for a friend or for yourself just buy a notebook, bonding it with paper and decorate it with acrylic paint and glitter!
Lets get started with "Dear Diary"!!!


- Julia


Business Card Holder

Hi! Many people ask for the name of my blog quite many times. Maybe the name is too complicated? :) Well, to make it easier, I made business cards. But where to put them? Here you can see my card holder!


What you will need:
  • Cassettes box
  • Edding (permanent)
How to proceed:
  1. Draw something with your Edding on to the box. 


- Julia

Trip to Lüneburg

Hi! Went for a one days trip to Lüneburg and I must say that this little city is beautiful! Very cosy, sweet, neat, and very historical. You can go to museums, go to sweet cafes, restaurant or pubs, stroll around, go shopping, etc.. The city is very special and you can see how much money the city had when it sold salt to for example Hamburg. Actually I think it is worth visiting when you are in Hamburg, as its only one hour away by car and you can get there easily by train. When your interested in history its definitely a must! 


Mill

Water Tower

Chamber of Industry and Commerce


Town Hall


- Julia

Henna Strawberry Box

Hi! Working on my balcony, I bought some strawberry plants. But it isn't easy finding the right pot for for strawberry plants. So I found this wine box played it out with plastic which has some holes in it so the water won't gather. To make it more interesting I draw with an permanent Edding on it. The theme is henna <3! This DIY takes approximately 10-20 min.


What you will need:

  • wine box
  • black permanent Edding
  • strawberries
  • plastic
  • soil
How to proceed:
  1. Does not matter, if you first plant the strawberries, or first decorate the wine box.
  2. Draw your favorite henna model onto the wine box.
  3. Cut the plastic into the right size and make some holes into the ground of the plastic in the box.
  4. Plant the strawberries.


- Julia